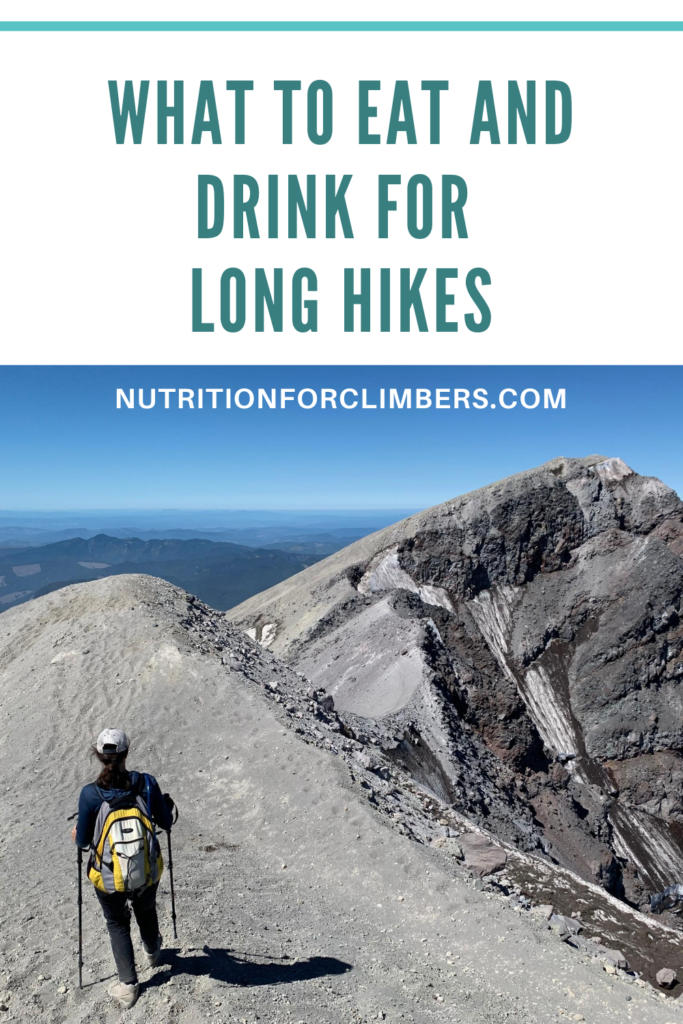
What to bring on the Mt. St. Helens hike (or any long day hike)
For successful outdoor adventurers, it’s super important to fuel and hydrate properly. Just a week prior to hiking Mt. St. Helens, someone had to be rescued due to dehydration on the mountain. Don’t let this be your mistake! With a good fueling and hydration plan, you can feel great and prevent mishaps and injuries.
Mt. St. Helens hike elevation gain and distance
Here’s the breakdown for the Mt. St. Helens hike:
10 miles round-trip (although we took more like 11 miles). Five miles up and back. It is a 4500 ft elevation gain over five miles, so pretty steep! No real switchbacks–just straight up!
The first ~2.5 miles is a nice forested path with gradual elevation gain. Then you get into an open boulder field where there is nothing but huge boulders to scramble up and pick your way through for about 1.5-2 miles. This was my favorite part of the hike–it was a lot of fun to just climb!
From this open boulder field up to the summit, there is no set trail to follow, which is why some people end up doing longer than five miles up. As you pick your way up the mountain, people take different routes and it can add some length to your hike.
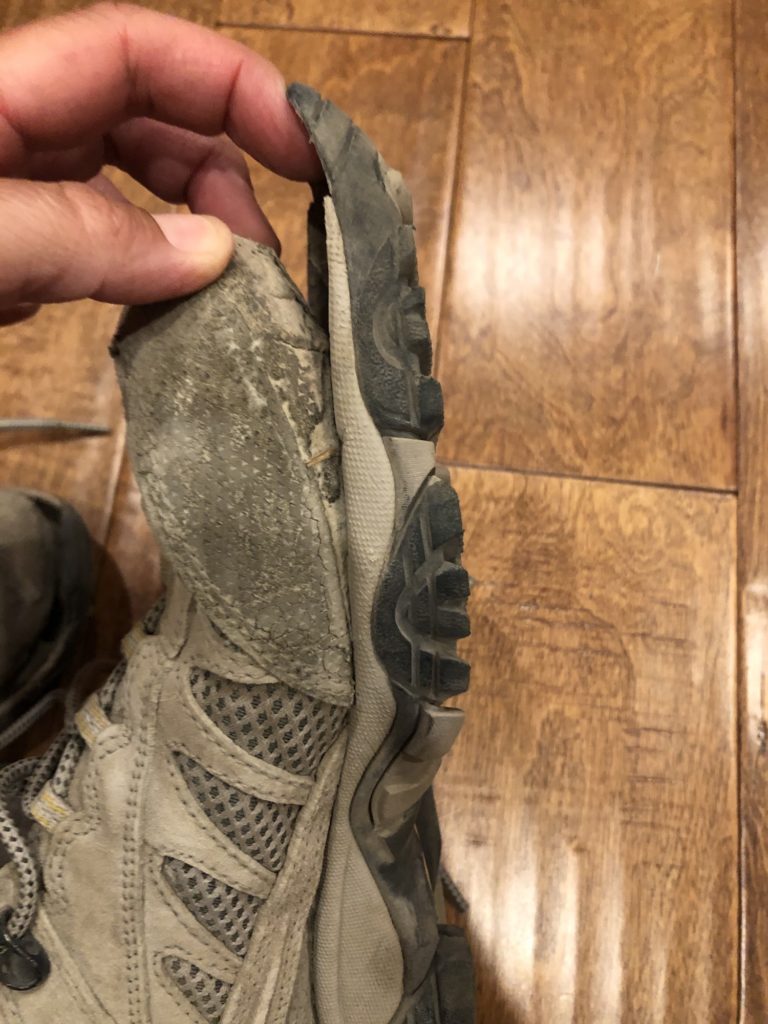
After the boulder field, there is about one mile or so of just scree–loose gravel and ash that is really tough to work your way up. Your feet slide down with each step. Trekking poles were invaluable at this point. I saw some hikers without them and can’t imagine how they did it. The poles helped make quicker progress and transfer weight off the legs a bit.
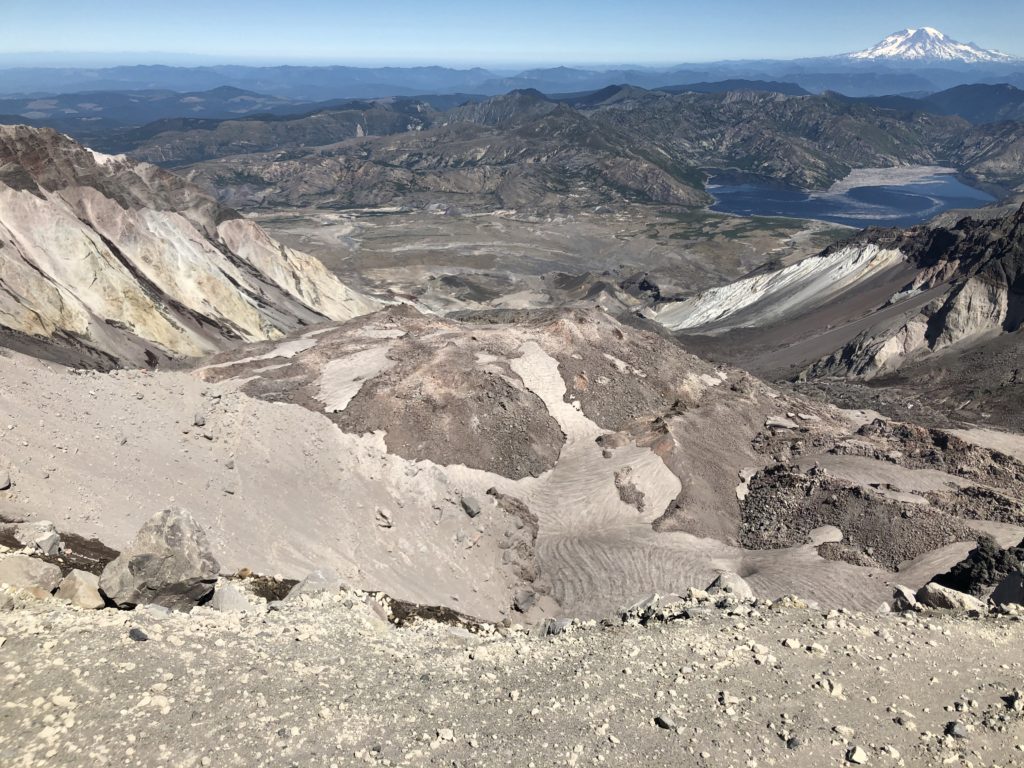
The summit greats you with a killer view of the inside of a volcanic crater. There’s a massive glacier inside. It was quite surreal to be at the top of a volcano! The guide at the top said the crater was about 1800 feet down to the bottom–you can apparently fit the Sears tower (Willis tower) inside it! It was amazing to imagine the sheer power and force that created the massive explosion and mudslide 40 years ago.
Recommended gear for hiking Mt. St. Helens
Bring the essentials and be prepared for an emergency.
Layers of clothing for weather changes
Emergency first aid kit, headlamp, whistle, etc.
Trekking poles
Gloves are useful for scrambling up boulders–saves the skin on your hands from getting shredded
Gaiters to keep the scree out of your hiking boots
Plenty of food and water (keep reading!)
Crampons may be necessary depending on what time of year. In August there was no snow on the “trail.”
Hat
Sunglasses
Sunscreen
TP and shovel
Food to bring on Mt. St. Helens hike
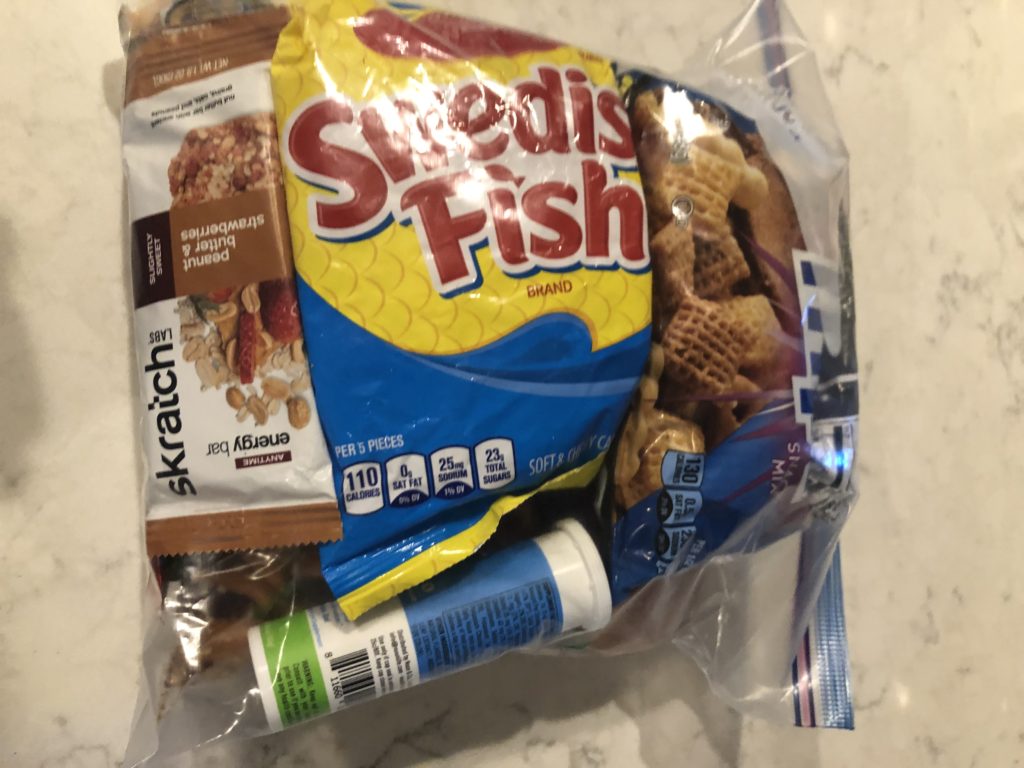
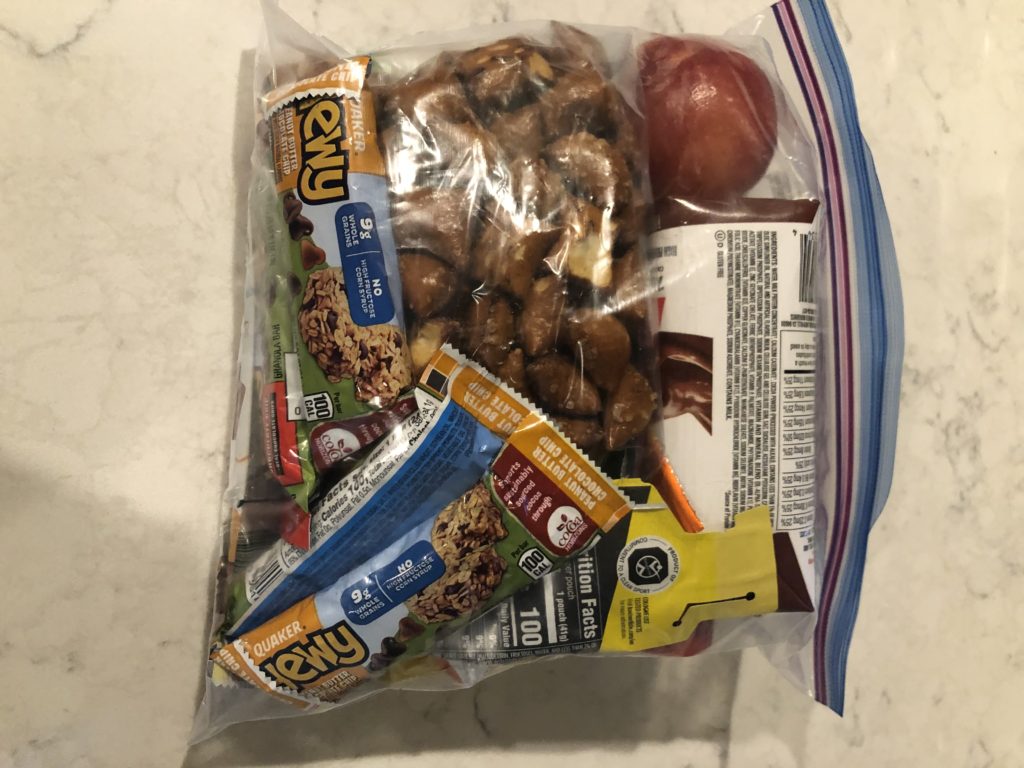
Here’s what I brought with me:
Peanut butter-filled pretzels
A couple Chewy Quaker granola bars
Apple
Protein shake (drank in the morning for my breakfast)
Swedish Fish (a lifesaver!)
Nuun electrolytes in my hydration bladders
Chex mix (salty!)
Trail mix
MORE IDEAS:
Tuna or salmon pouch
Jerky
Dry cereal
Applesauce pouches
Chips
Dried fruit
Fruit leather
Bars (Kind, Picky, Rx, Perfect, etc.)
Gu
Honey Stinger Waffle
How to fuel: At higher altitudes, your body needs additional carbohydrates. A mix of carbs and protein are needed almost constantly to prevent bonking and stay energized. I kept some snacks in my pocket and ate almost regularly. Aim for about 30-60 grams of carbohydrates per hour, and about 200-300 calories per hour as tolerated. (Check out this post I wrote about nutrition and hydration for high altitude for more information).
This was easy to do by reaching into my pocket every 5-10 minutes and eating a peanut butter-filled pretzel, a Skratch labs chew (really nice texture and not too sweet), or some Swedish Fish. One of my hiking buddies didn’t fuel regularly and started to bonk. We had to stop so he could eat a bunch of Swedish Fish, which got his blood sugar up and he was able to continue without issues.
We sat down at the top of the crater and had a more substantial lunch. I took this opportunity to get some salt in me with more pretzels and some Chex mix, as well as more calories and protein. I felt well-fueled and my stomach tolerated everything great.
How much water to bring for Mt. St. Helens
For high altitude climbs, you need more hydration. You lose more fluid through sweat and respiration than at lower altitudes. In addition, this particular day was warm (around 70 degrees) and the hike was in exposed sun for most of the time.
Aim for minimum of eight ounces or 240 mL per hour. I sipped regularly about every 10 minutes through my hydration pack. If you bonk from low blood sugar, it takes about 20-30 minutes to recover. If you become dehydrated, it can take several hours to recover. This is why hydration is crucial to a successful hike.
Just plain water won’t do the trick. Electrolytes are important to re-hydrate properly. With just water, you will dilute electrolytes in your blood, which is not effective for hydrating. Instead it can lead to hyponatremia, which is a serious condition. Perfect Hydration for Athletes goes into a lot more detail about when to choose sports drinks, water, or electrolytes, and how to develop a personalized hydration plan for any situation.
I ended up bringing four liters of water with me, and used about 3.25 liters. I was glad I had the full four liters, as I may have needed it if I had started to feel a bit dehydrated. It’s always smart to bring extra fluids in case you are on the mountain longer than planned, you need to share with a hiking buddy, or conditions are not as you anticipated.
I made the mistake of not putting added salt into my hydration pack. I know that I’m a salty sweater (I have salt crusties on my face and clothing after I sweat a lot), but figured the salt in my food would be adequate. It wasn’t. By the end of the hike I had a headache (and for the remainder of the night and into the next morning), which was likely because I didn’t replace the lost salt.
The Nuun tablets have 300 mg of salt in them, and I used two tabs per two liters (I should have used four). Which means there was only 600 mg per two-liter bladder. This could be enough if you’re not a salty sweater, but it wasn’t enough for me. Some people lose 1500-3000 mg of salt per liter of sweat! If you know you’re a salty sweater, add additional salt to your electrolytes, or choose an electrolyte brand with ample sodium (like The Right Stuff).
If you’re planning on doing any long day hike, be sure to hydrate and fuel right to feel energized and great throughout the hike! Final tip: try tart cherry juice for muscle soreness. I was sore the next day and was wishing I had used it!
For longer backpacking trips, I recommend checking out Gourmet Hiking and Backcountry Foodie. Both have great recipes and tips for fueling multi-day adventures.
~This is general information only and not personalized nutrition advice. Always consult with your healthcare professional before undergoing any diet or lifestyle change. This post may contain affiliate links.
Want to learn more? You gotta read our book, Climbing Nutrition: A Comprehensive Guide. It’s packed full of tons of useful and actionable nutrition and hydration tips!
And be sure to sign up for our monthly newsletter, chock full of nutrition tips for busy people.
Want to learn more? Check out our on-demand masterclass Nutrition for Climbers